
The tools behindthe transformation.
Professional wrapping is a hands-on craft. The material matters, but so do the tools, the technique, the preparation and the experience behind the installation.
Material. Tools. Technique.
3M™ and Avery Dennison™ automotive films, chosen per project.
Knifeless tape, squeegees, heat equipment, trimming tools, preparation supplies, inspection lighting.
Knowing which tool, where, when — and when to leave it alone.
Three worth explaining.
Knifeless tape
Clean cuts. Controlled technique.
A filament-based cutting system positioned beneath the vinyl before the film goes on. The installer pulls the filament through to cut the film, instead of running a blade across the vehicle’s surface in that location.
- Positioned beneath the film
- Controlled filament cut
- Clean design line
It is not used for every cut, and it does not eliminate cutting risk. Whether it is the right method depends on the vehicle, the film, the design, the location and the installation requirements.
Squeegee & technique
The tool is simple. The technique is the craft.
A squeegee helps the installer position the film, work it across the surface, control how it lays down and reduce unwanted imperfections.
- Position the film
- Work across the surface
- Control the lay-down
No tool guarantees a defect-free installation. The squeegee is doing what the hand behind it tells it to.
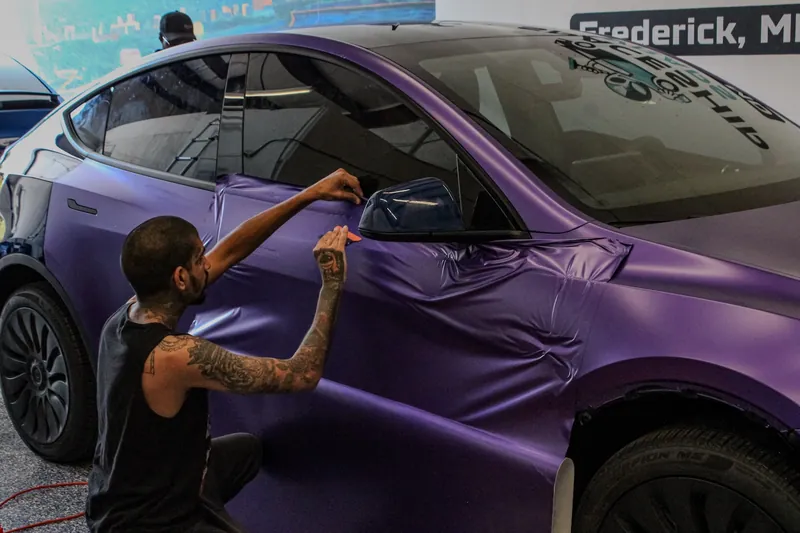
Controlled heat
Heat is a tool.
Professional heat equipment is used during installation and finishing to help the film behave, according to the material manufacturer’s requirements and the installer’s technique.
- Work the film
- Set the contour
- Post-heat the finished area
Different films have different requirements, so there is no single temperature that applies to all of them. We won’t publish operating instructions here — heat in the wrong hands is how panels get damaged.
What’s actually on the bench.
Precision cutting
- Knifeless tape
- Precision trimming tools
- Professional vinyl knives where appropriate
- Blades designed for controlled vinyl trimming
Application
- Squeegees
- Felt-edge squeegees
- Application cards
- Wrap gloves
- Magnets where appropriate
- Positioning tools
Heat & finishing
- Professional heat gun
- Heat-management tools
- Infrared thermometer where appropriate
- Finishing tools
Surface preparation
- Cleaning supplies
- Surface-preparation products
- Microfiber towels
- Appropriate cleaning tools
Detailing & finishing
- Edge tools
- Trim tools
- Fine-detail tools
- Inspection lighting
Precision trimming
Some areas need controlled trimming and finishing. The installer picks the method based on the vehicle, the film, the location and the result they are after.
Not every cut is made with a blade, and not every cut is made with tape. Choosing between them is part of the job.
Before the vinyl
The condition of the surface decides how the film behaves and how long it stays behaved.
- Cleaning
- Contaminant removal
- Surface inspection
- Appropriate preparation products
- Microfiber materials
- Detail tools
What a given vehicle needs depends on the condition it arrives in. We won’t publish product formulas or chemical instructions here.
Then we look closer.
Inspection lighting, close photography and a deliberate pass over the finished vehicle.
On most projects the installer and the reviewer are the same small team — we won’t imply a separate inspection department we don’t have. What matters is that the pass happens deliberately, against a checklist, before the vehicle goes back.
The workbench
Nothing exotic. The right tools, the right materials, and the experience to know which to reach for.

The tool is only half the story.
Professional tools don’t replace experience. Knowing when to use a tool, where to use it, and when not to use it is the part that takes years.